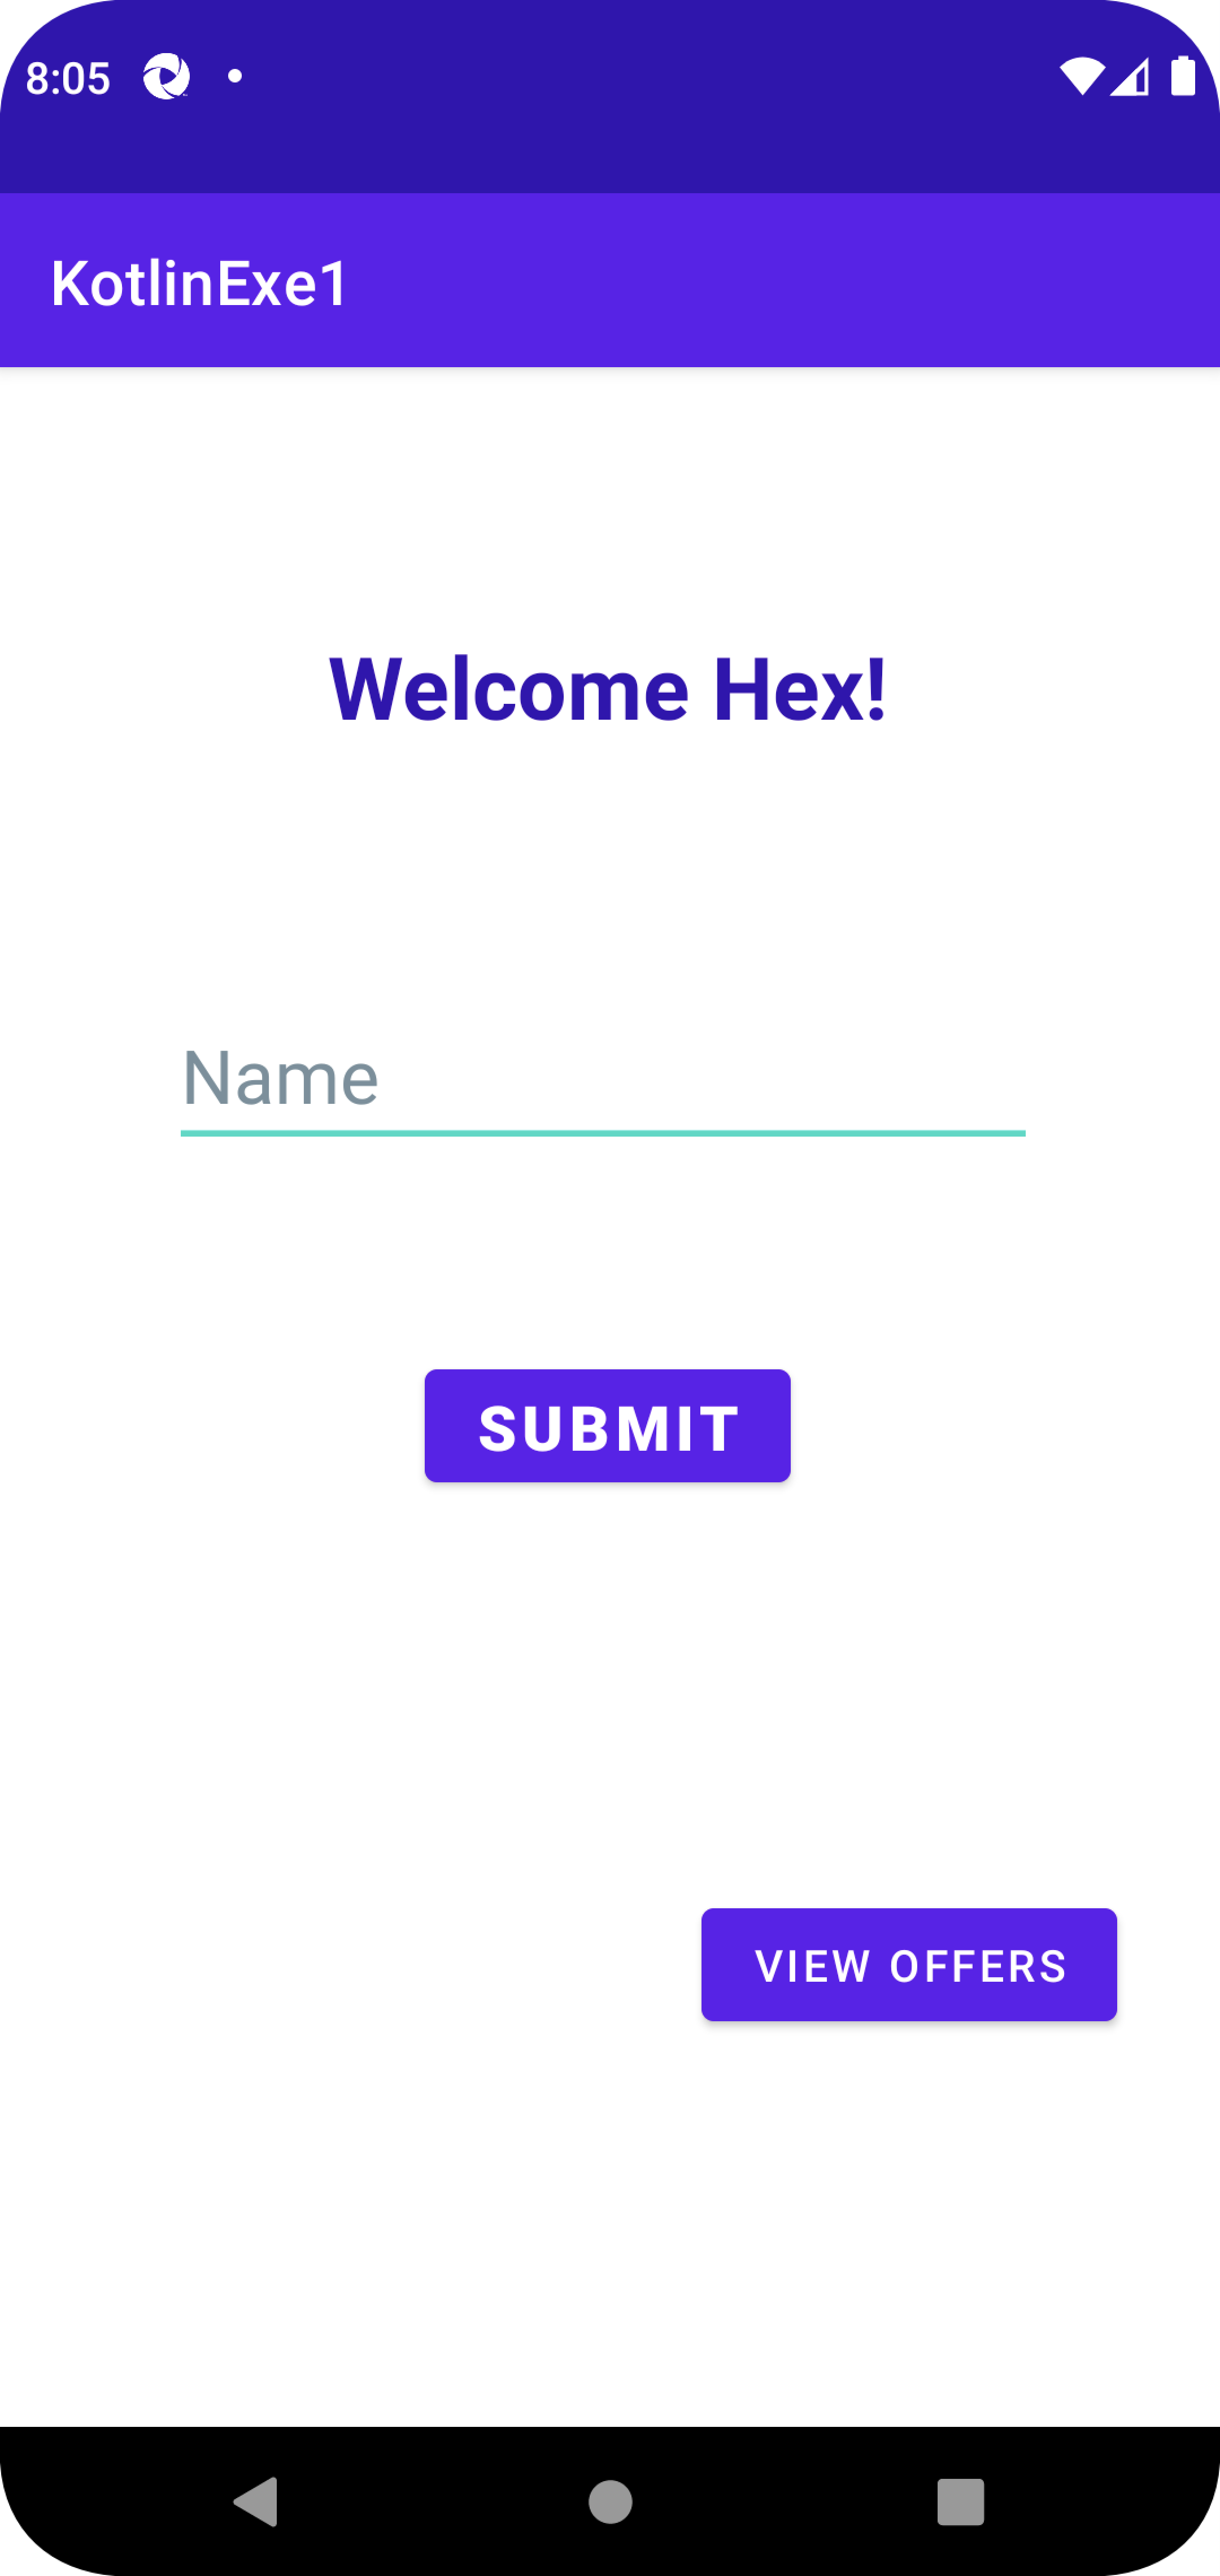
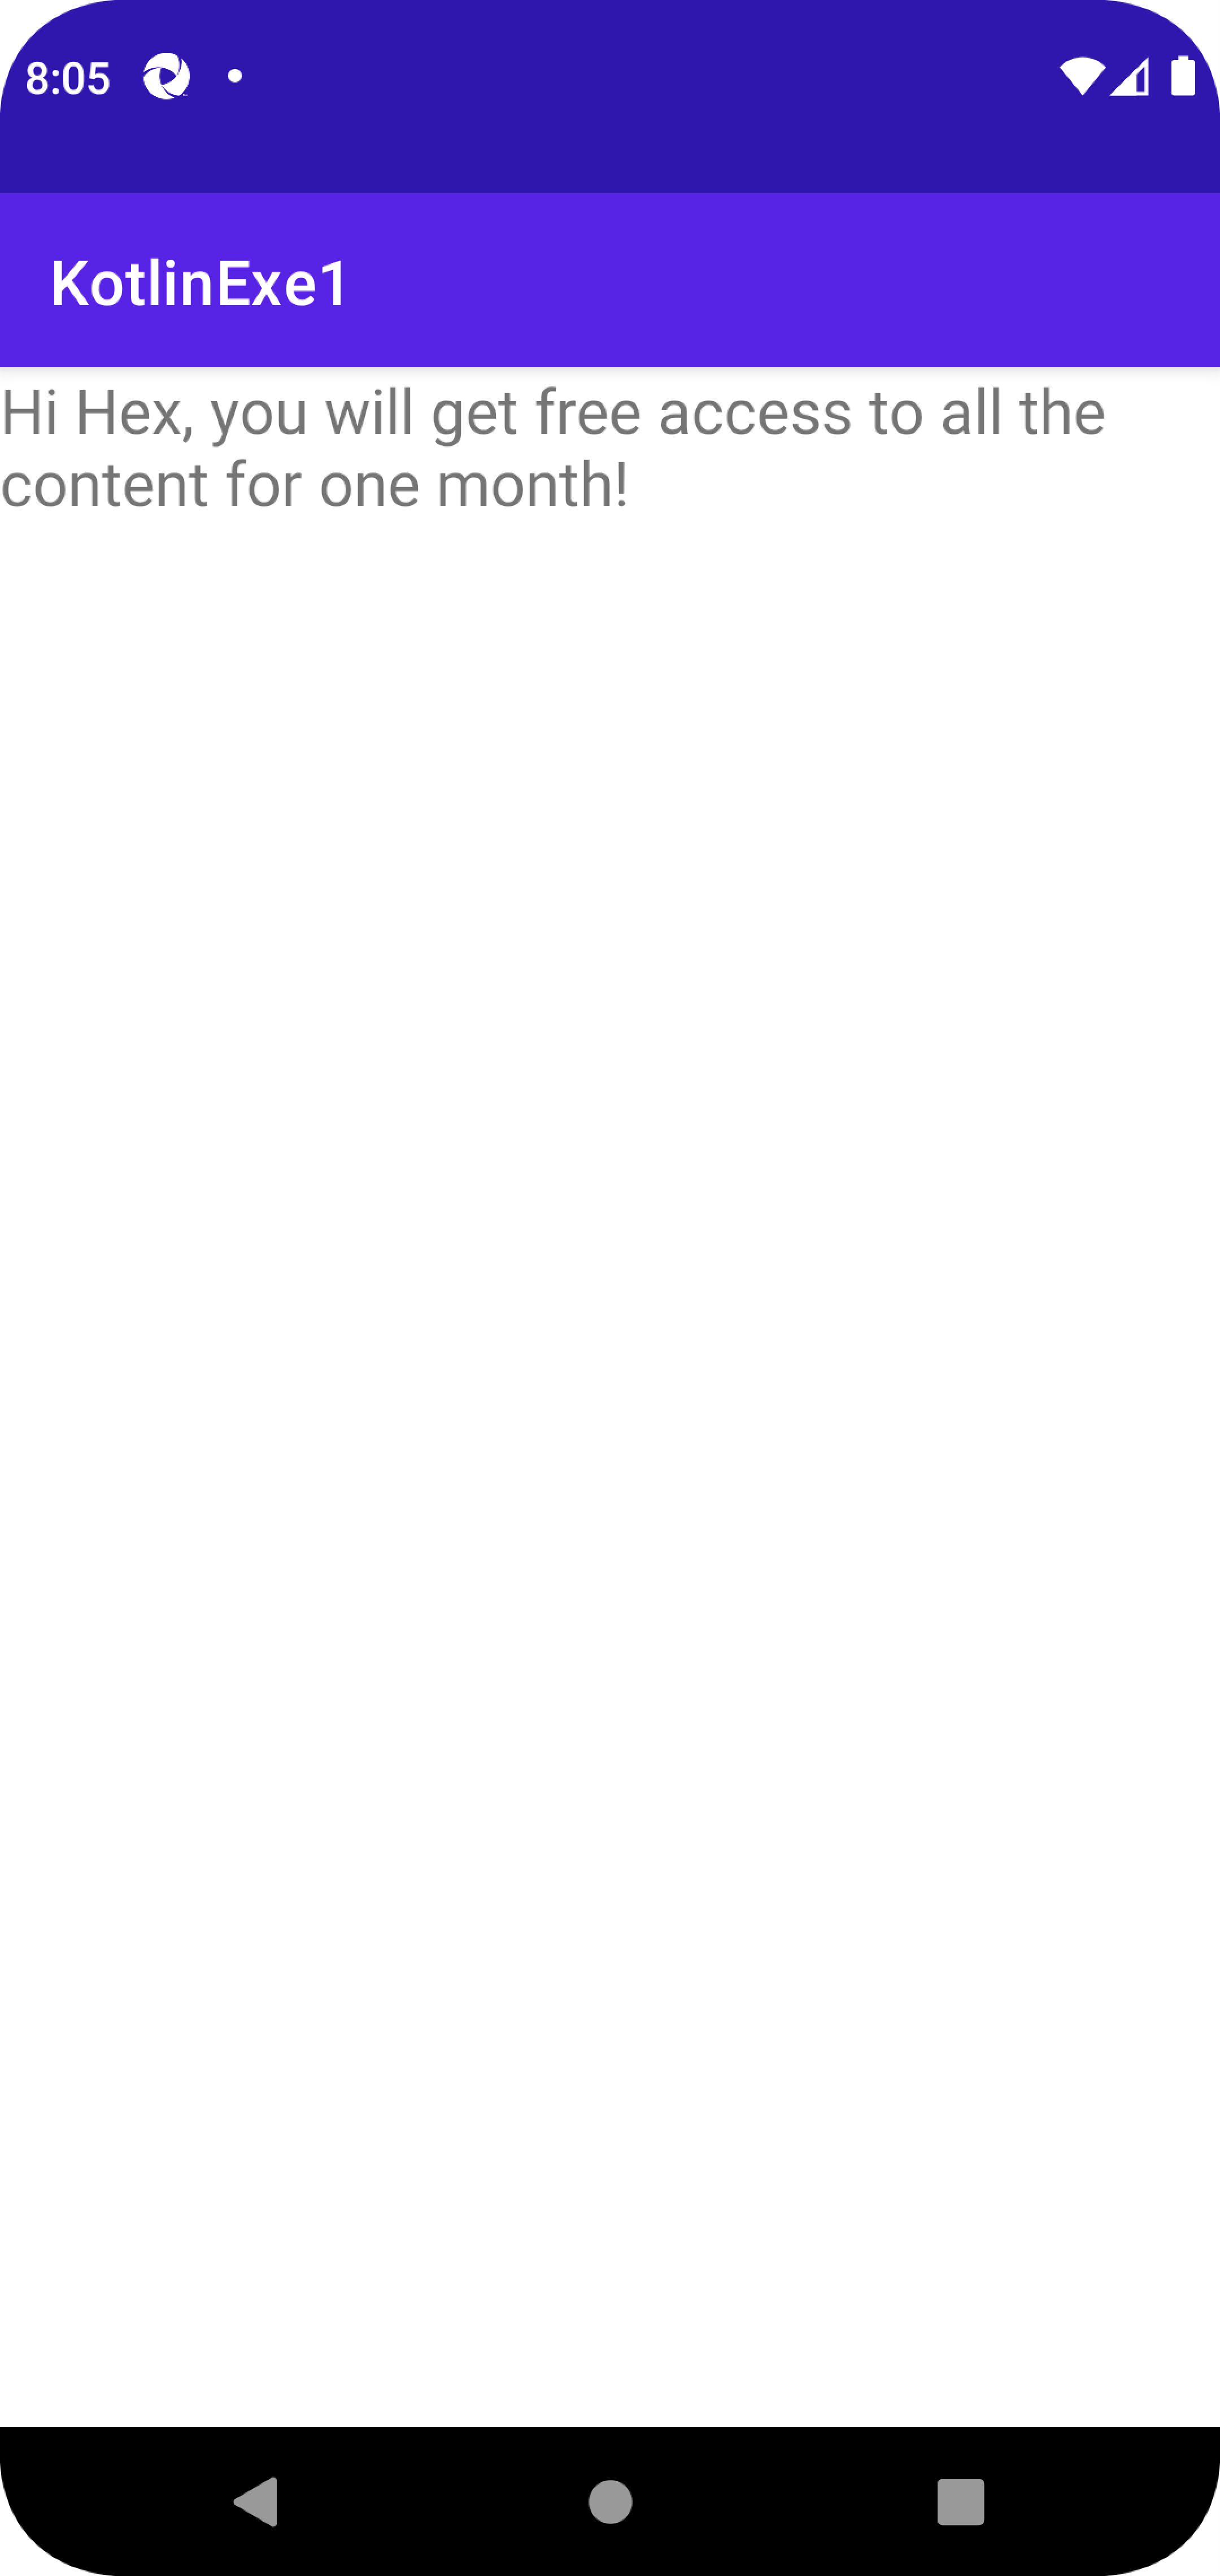
Day1: Build Your First Android App
Folder Structure of an Adroid App
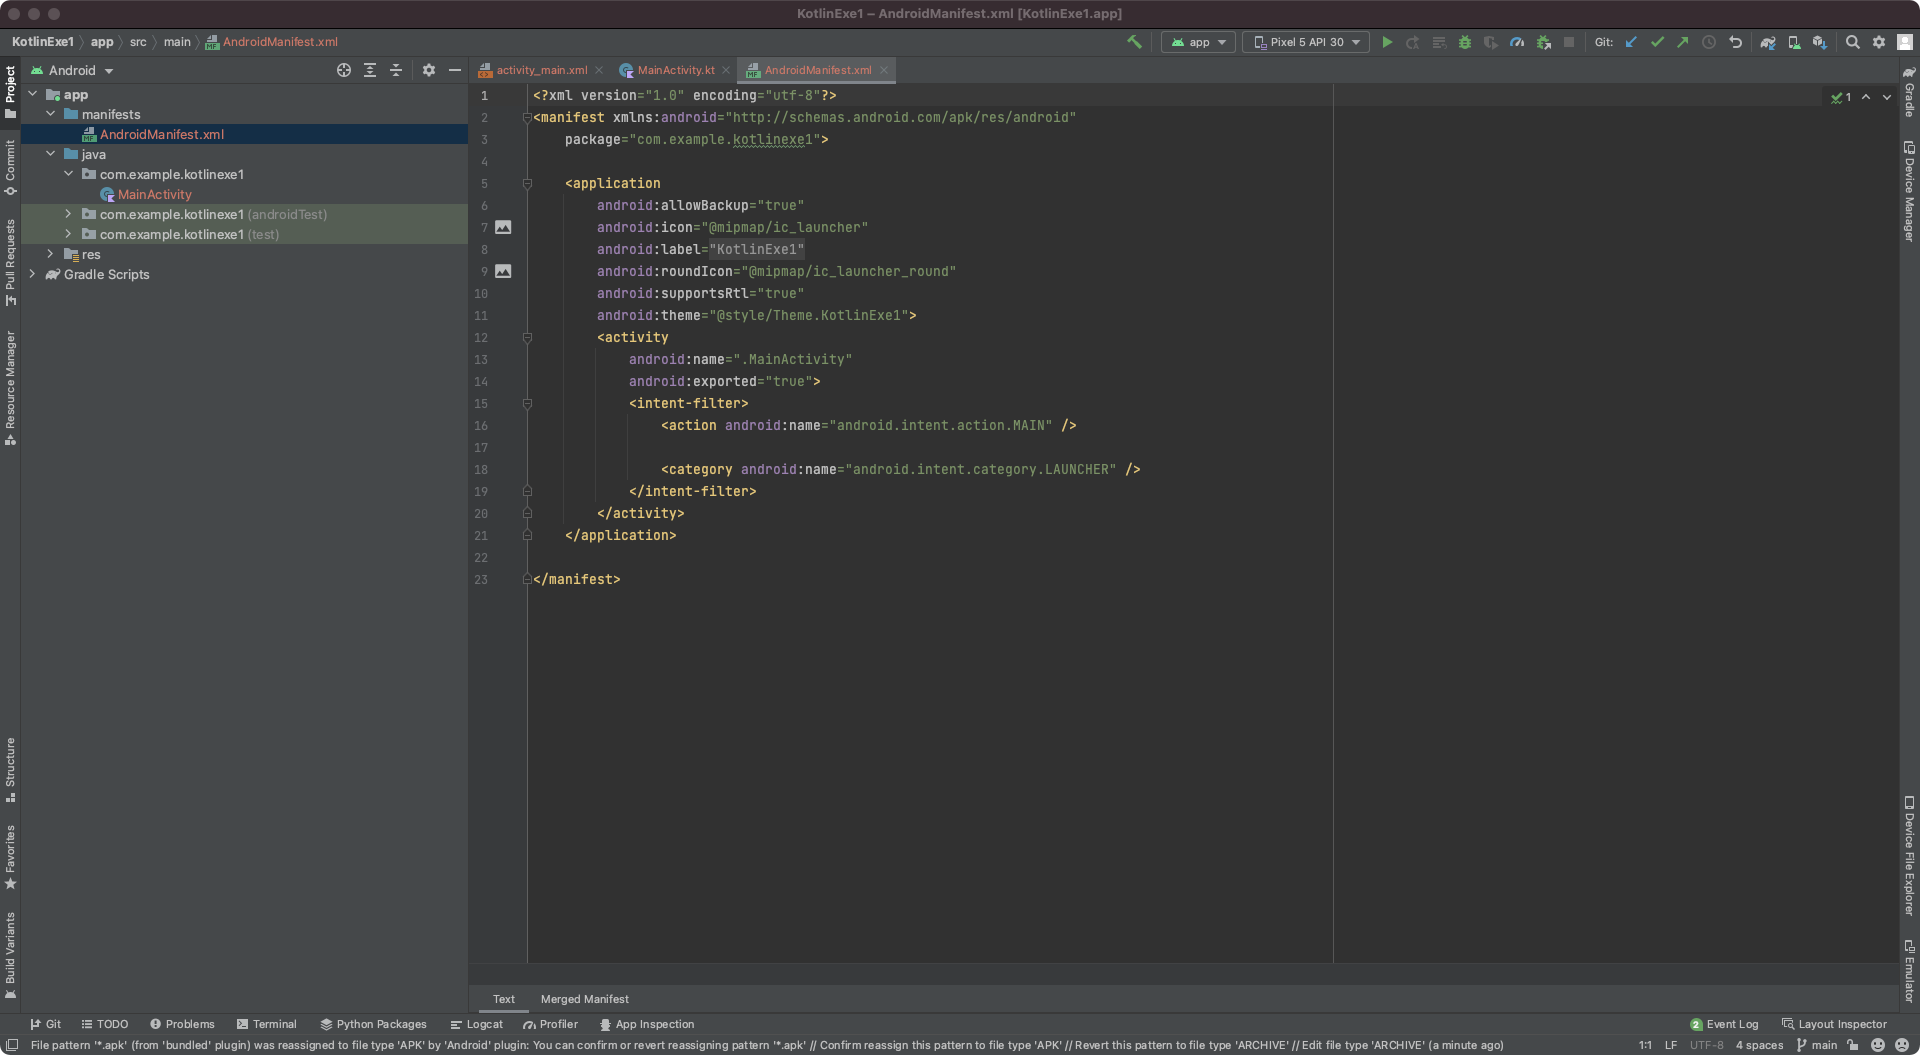
AndroidMainfest.xml
- Contains information that a device needs to run the app
- An intermediate between android os and our application
1 | // intent-filter: launch activity -> Launch MainActivity activity first |
- contains the package details of the application:
package="com.example.kotlinexe1" - can add permissions
- deal with the rest api: we need to provide permission to use the internet connection
Java folder

- contains all the source code files we created
- source code
- test files
Jave (generated)
android studio will generate lots of classes for us and they will be stored in this folder
Kotlin language has created on top of Java language and Java library. Kotline is the more mordern version of Java, so that they haven’t changed the folder name to Kotlin
res folder

contains all non-code resources, does not contain Kotlin files but all other resources
- drawable: contains all the images (all the format)
- layout: contains all the xml layout files
- activity_main.xml is the view
- MainActivity.kt is the controller file of that view
- mipmap: contains icon images with all different size
- values: contains xml files to hold different default values of the project
- defined colors
- defined strings
- themes sub folder: contain details about the theme of the project
- new themes xml files inside this themes folder
Gradle
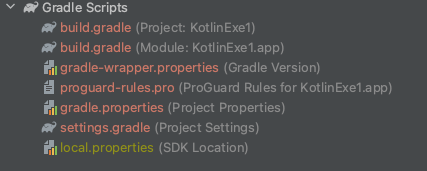
is a automated build system
no need to worry about the different configurations, different libraries.
build.gradle:
- app level gradle file, whenever we add a new plugin to the project, we need to define it here
1
2
3
4plugins {
id 'com.android.application'
id 'org.jetbrains.kotlin.android'
}- app level gradle filem, we need to add dependencies here
1
2
3
4
5
6
7
8
9
10dependencies {
implementation 'androidx.core:core-ktx:1.7.0'
implementation 'androidx.appcompat:appcompat:1.3.0'
implementation 'com.google.android.material:material:1.4.0'
implementation 'androidx.constraintlayout:constraintlayout:2.0.4'
testImplementation 'junit:junit:4.13.2'
androidTestImplementation 'androidx.test.ext:junit:1.1.3'
androidTestImplementation 'androidx.test.espresso:espresso-core:3.4.0'
}
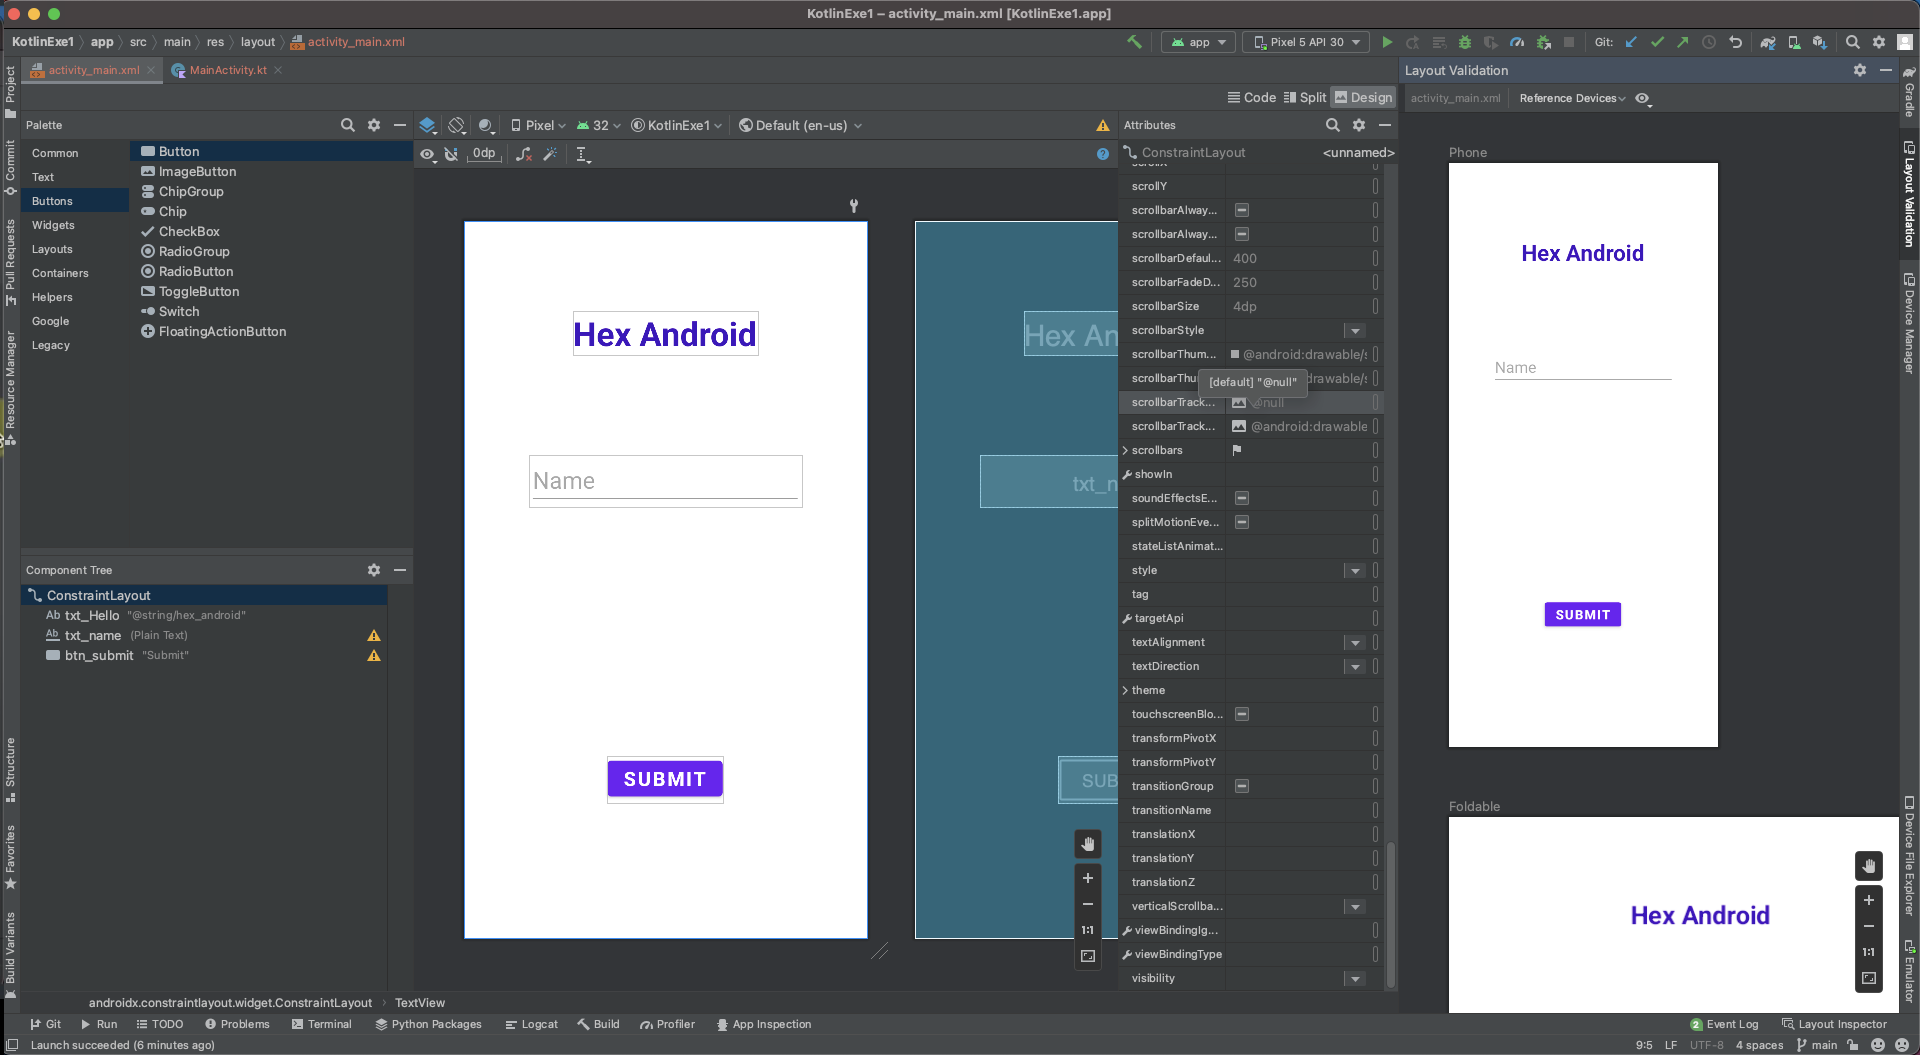
Build Your First Android App
activity_main.xml
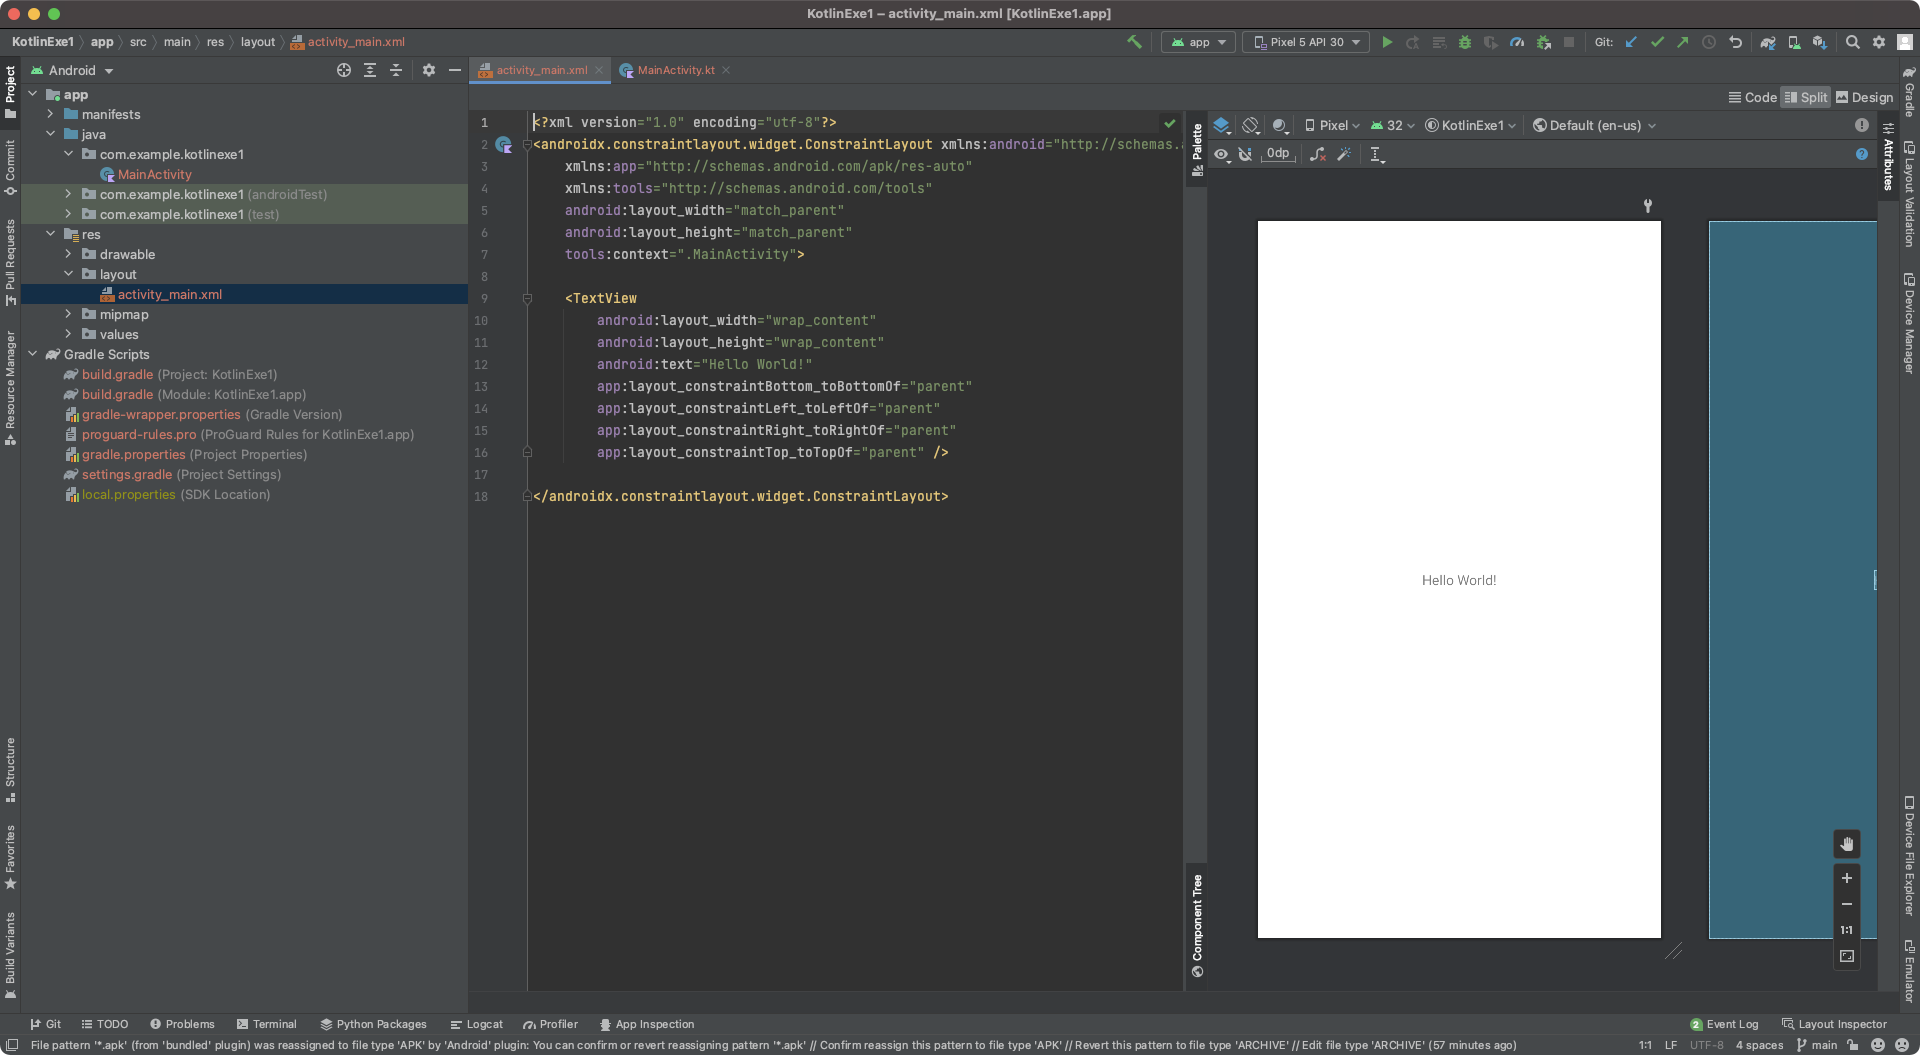
activity_main.xml
- code mode
- split mode
- design mode
1 | <?xml version="1.0" encoding="utf-8"?> |
Layout type
- constraint layout
- linear layout
- box layout
UI Layout Validation
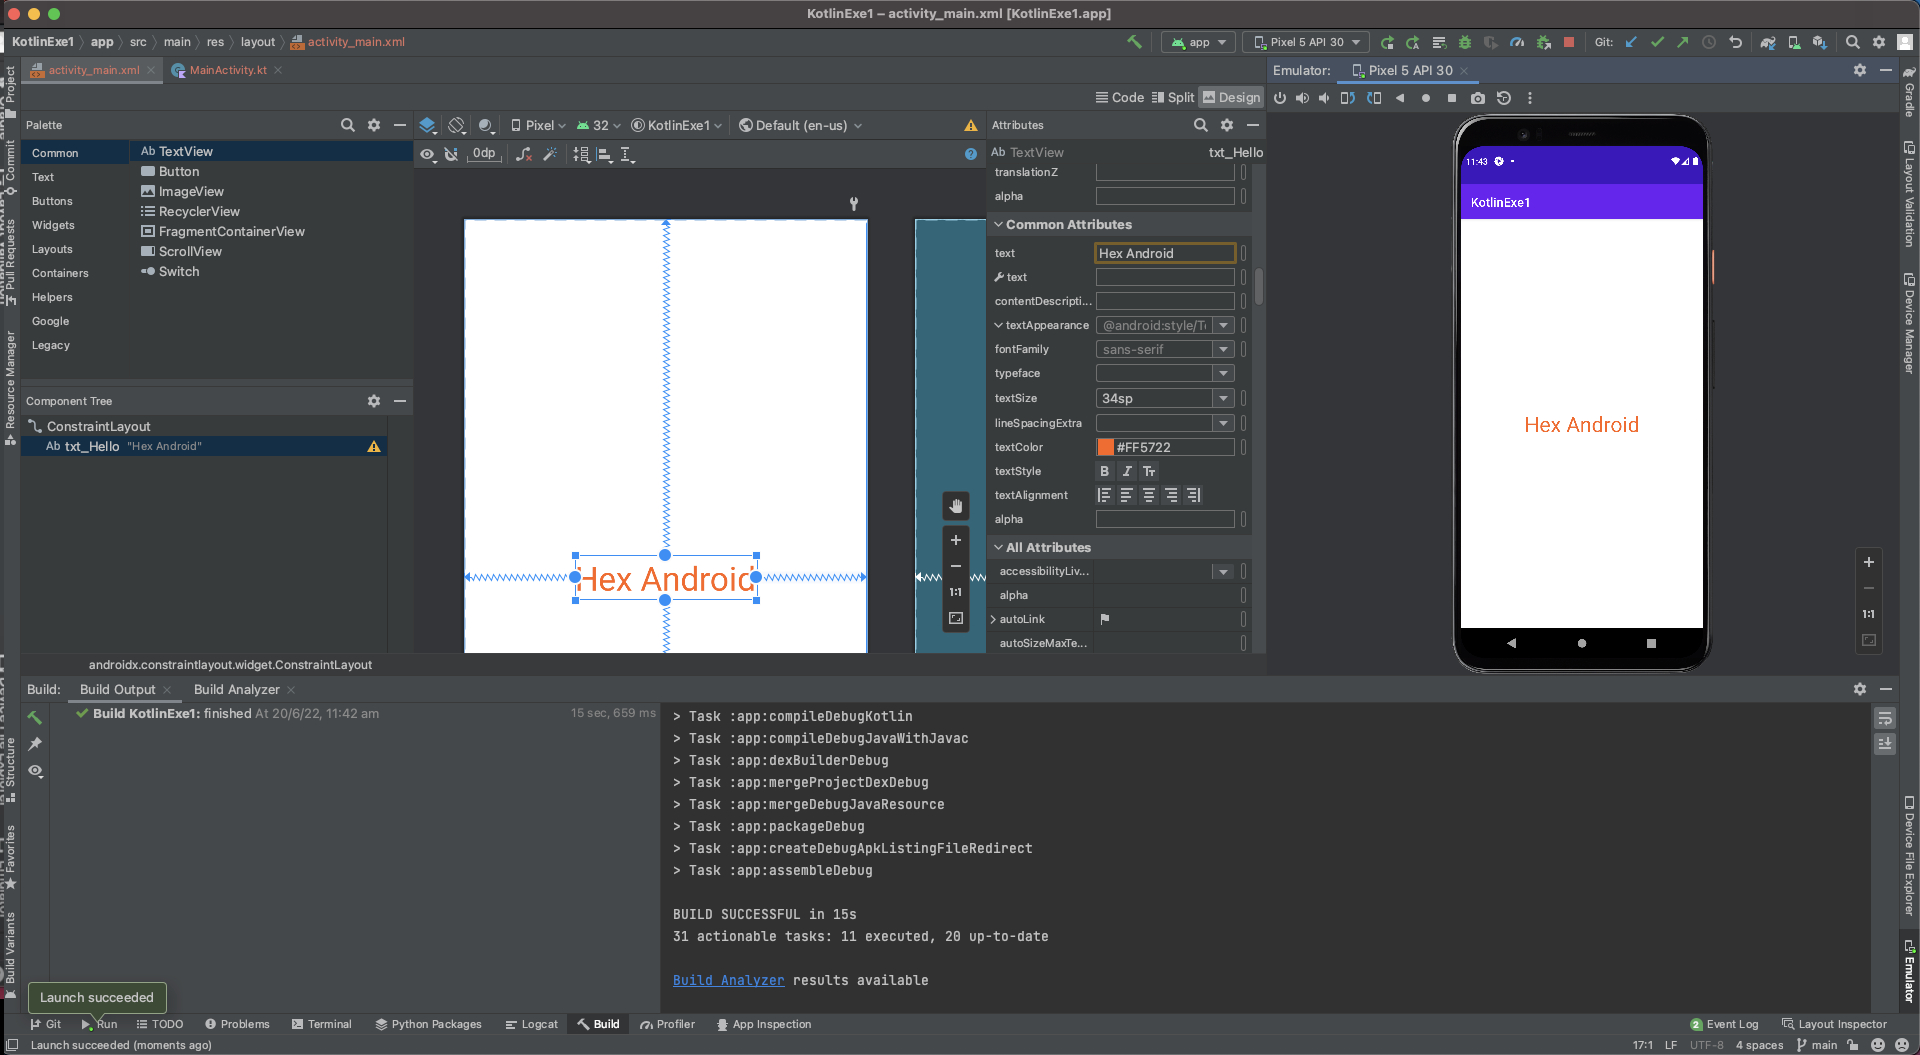
provided many different screen size
MainActivity.kt
MainActivity.kt is the layout controller class of the activity_main.xml layout
The activity_main.xml file has connected to the class through this setContentView function
In Android, onCreate function is called when the activity is first created
super.onCreate(savedInstanceState) provides us the bundle containing the activities previously frozen state if there was one
1 | package com.example.kotlinexe1 |
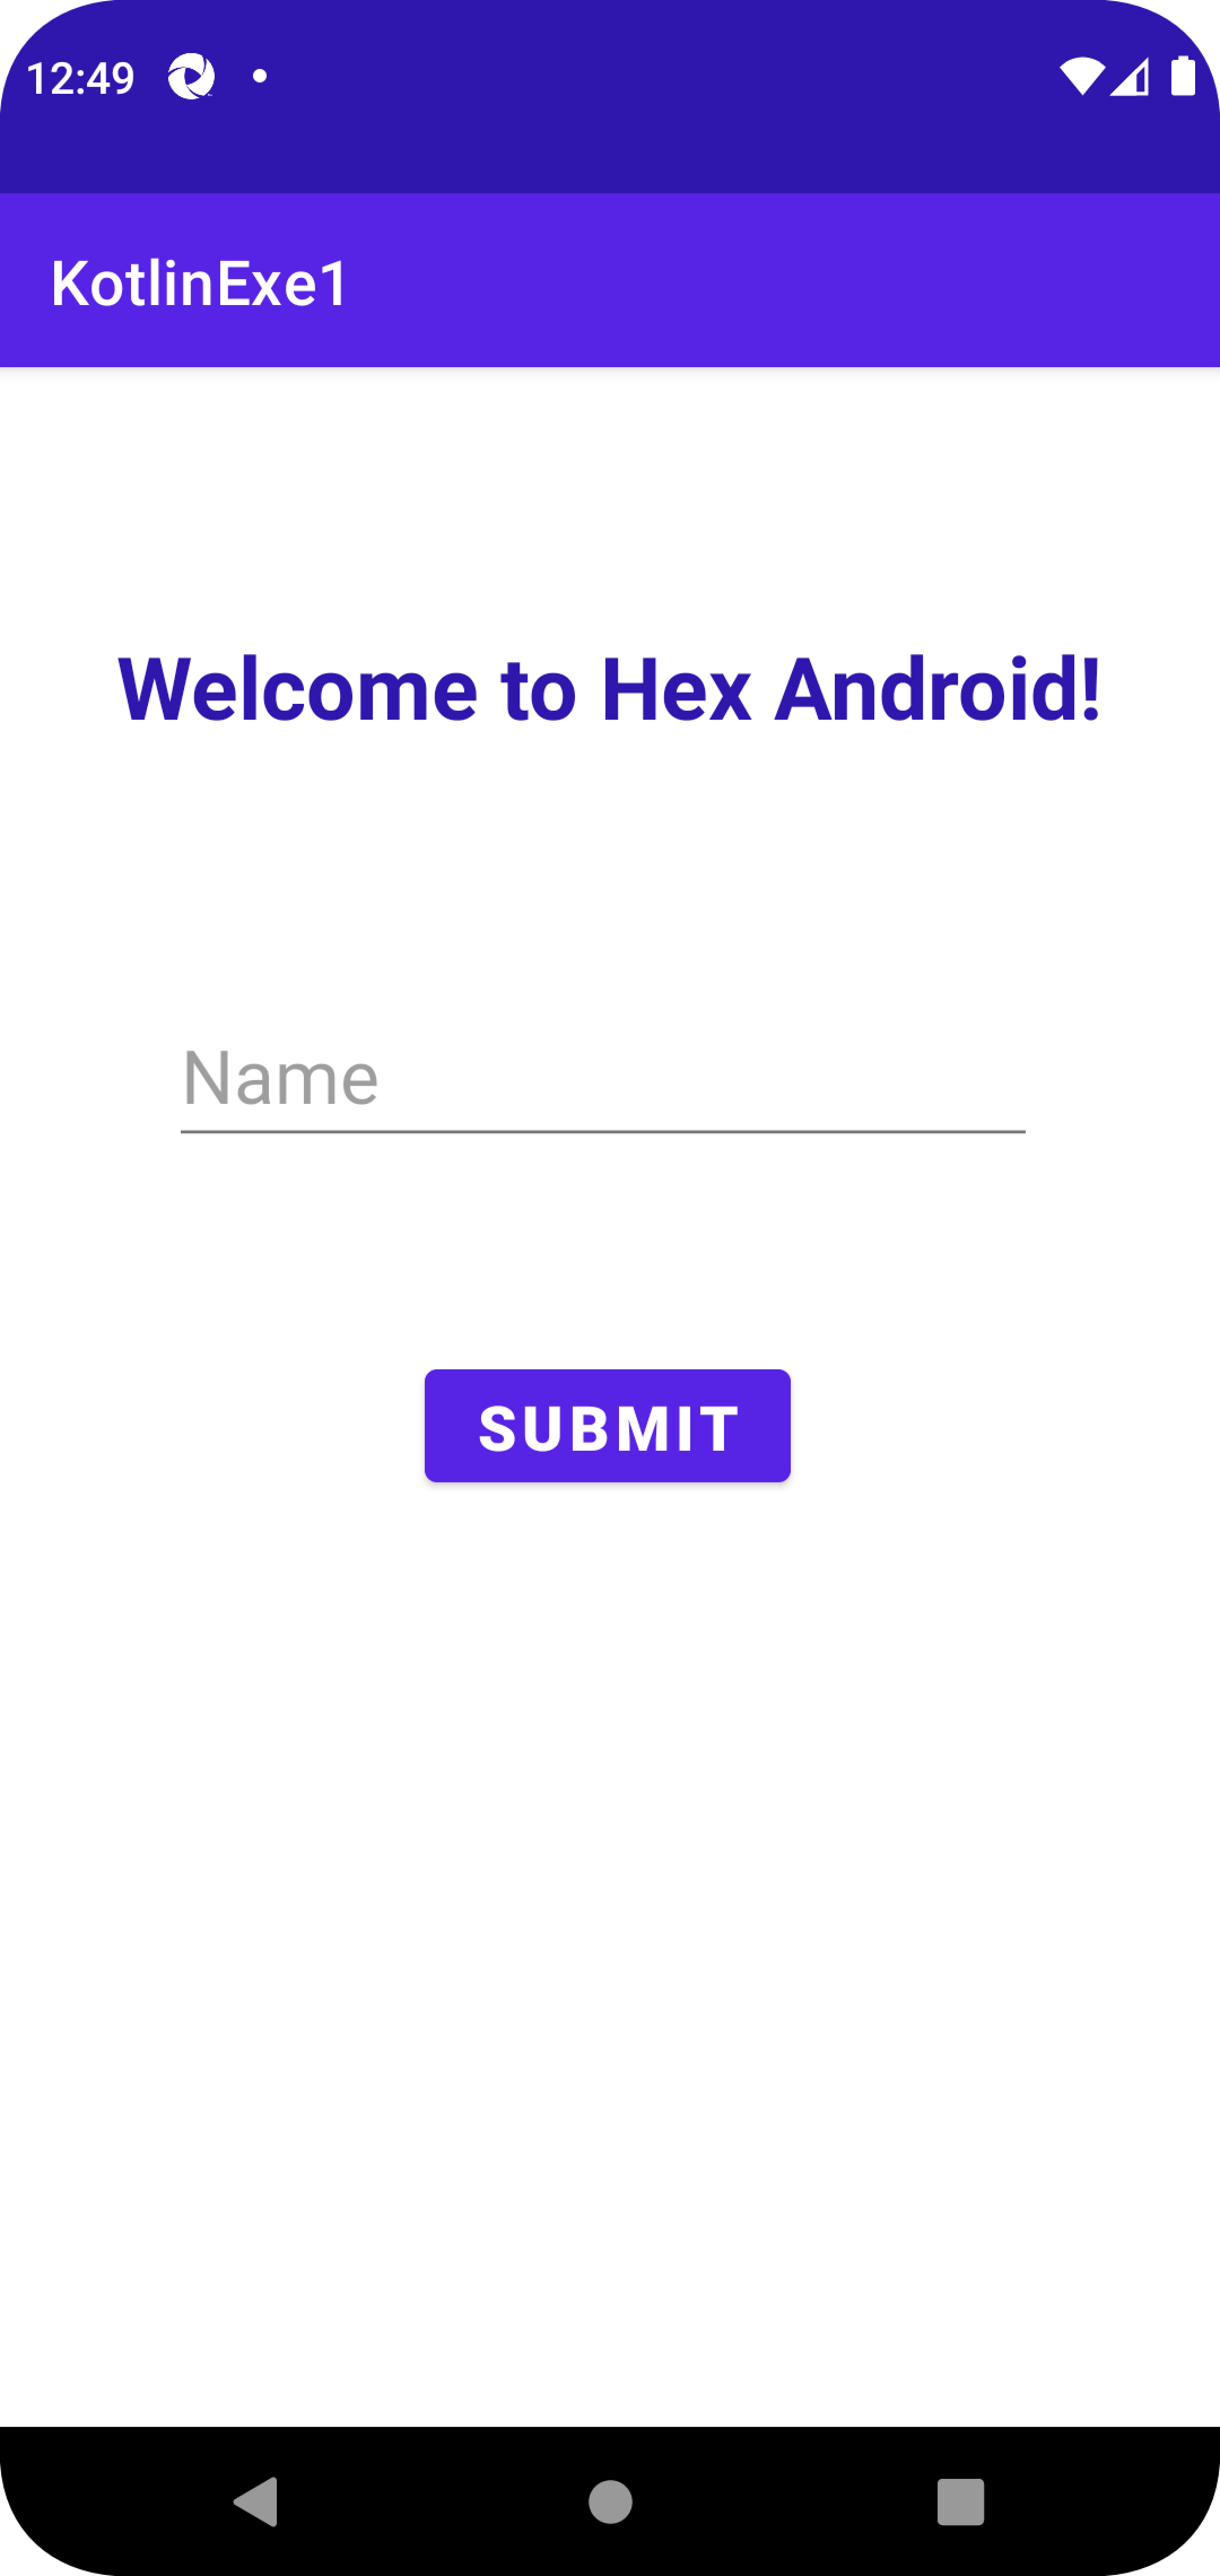
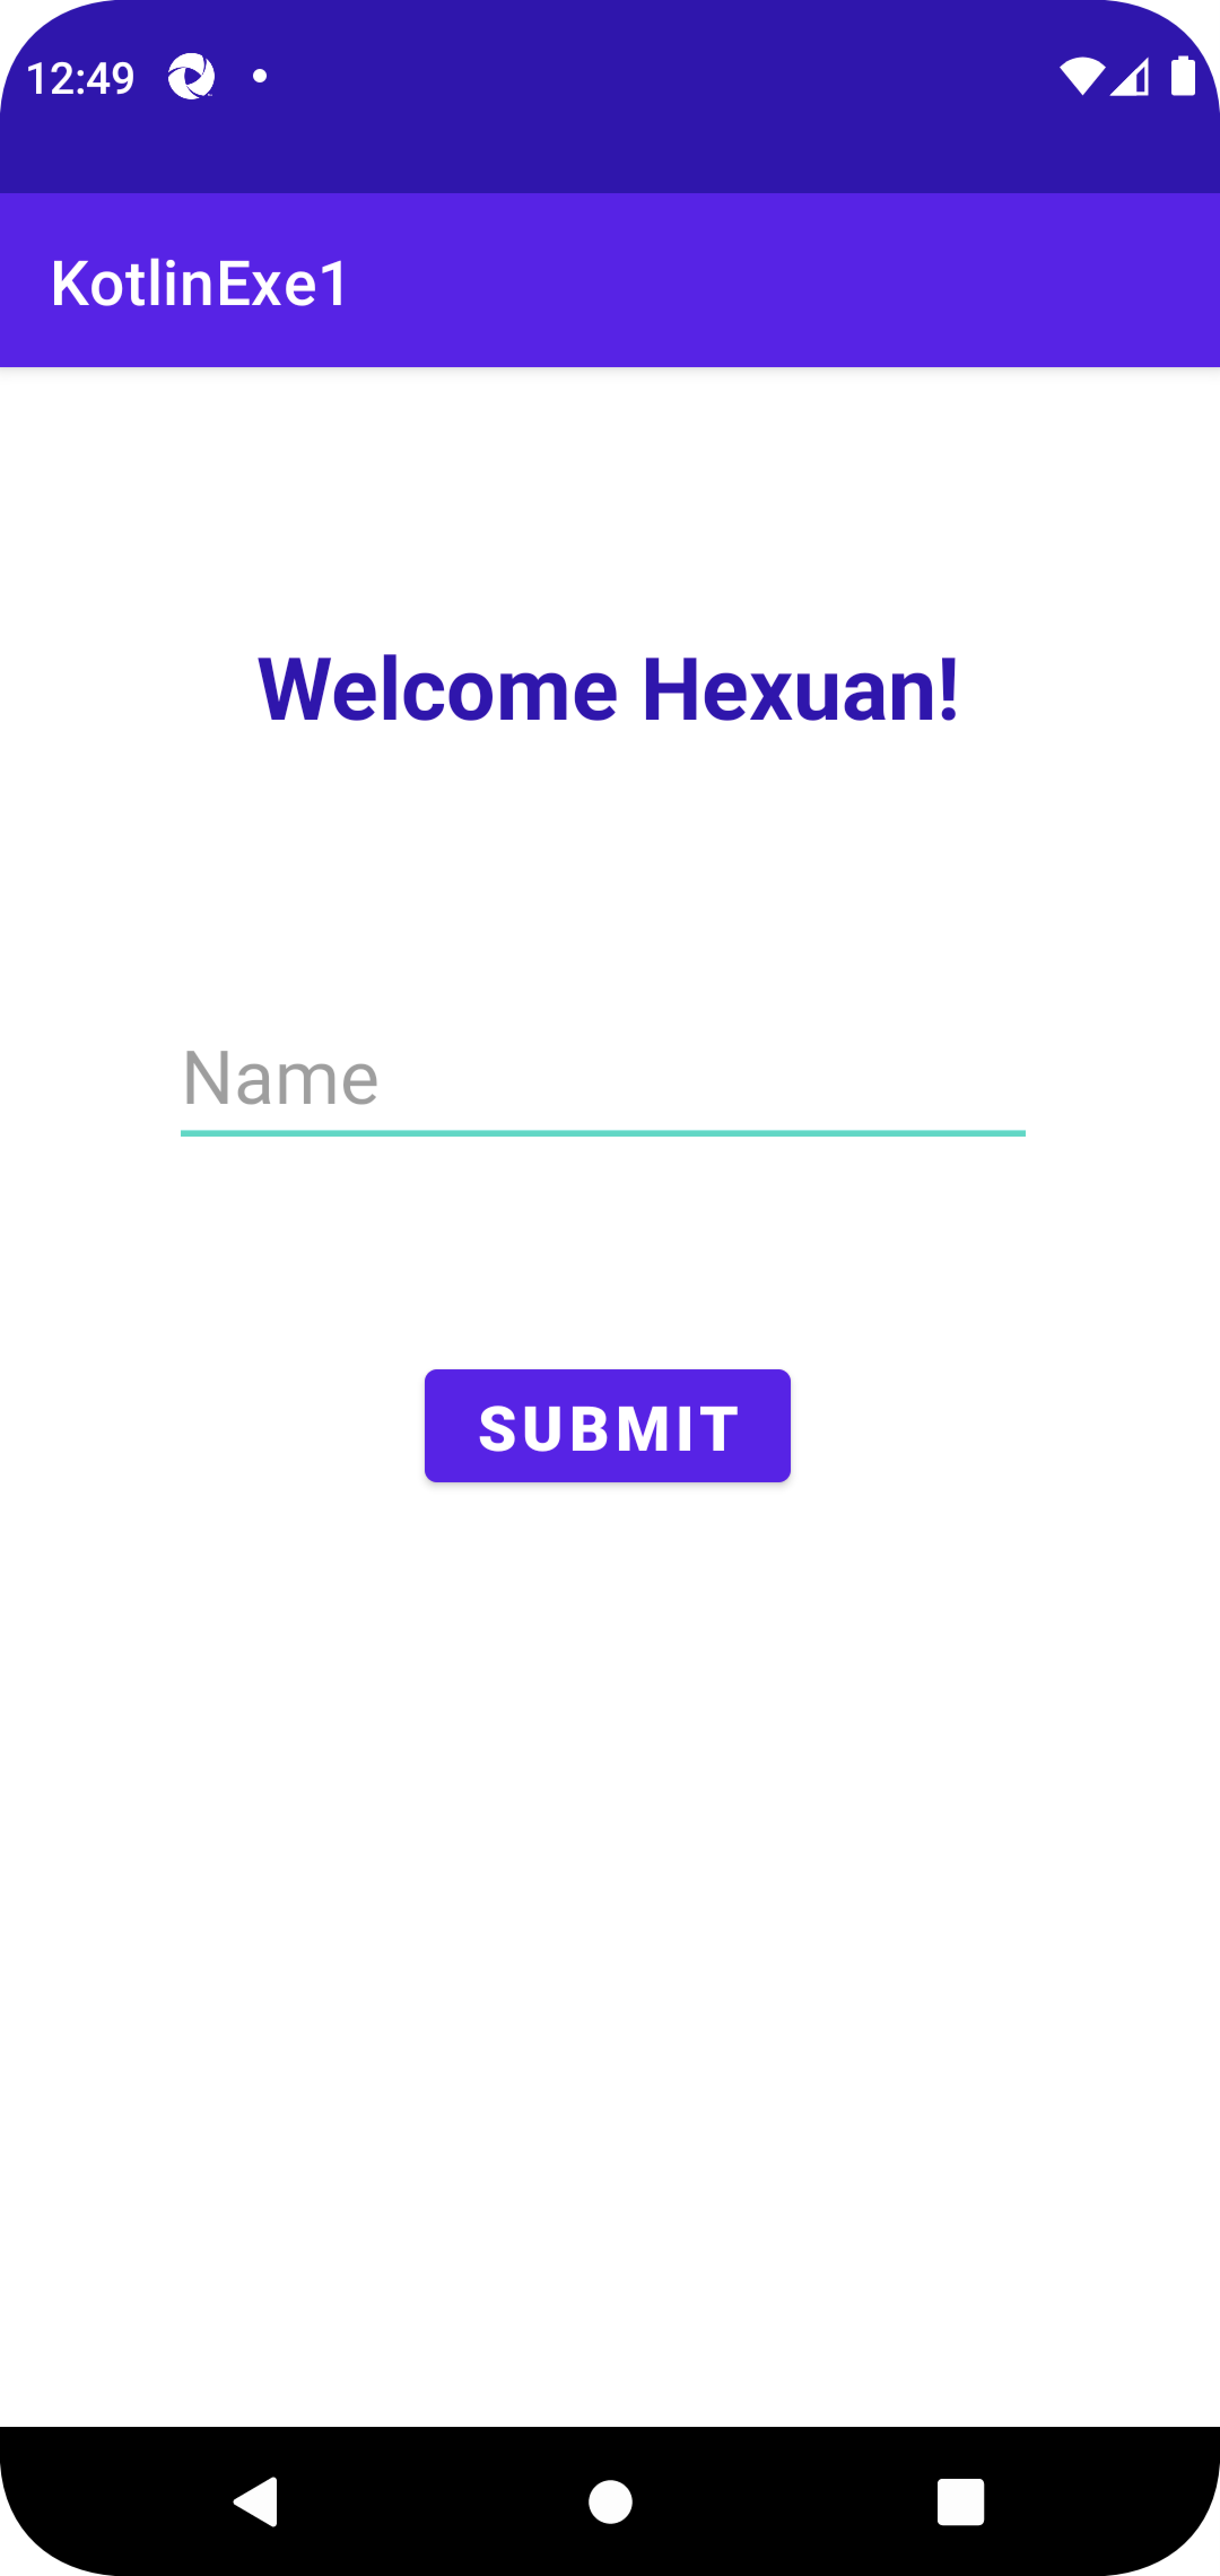
Toast.makeText(context: Context!, text: CharSequence!)
for the context, we can provide either application context or activity context.
- applicaton context:
Toast.makeText(*applicationContext*) - activity context:
Toast.makeText(this@MainActivity, "Please enter your name!", Toast.*LENGTH_SHORT*).show()
1 | package com.example.kotlinexe1 |
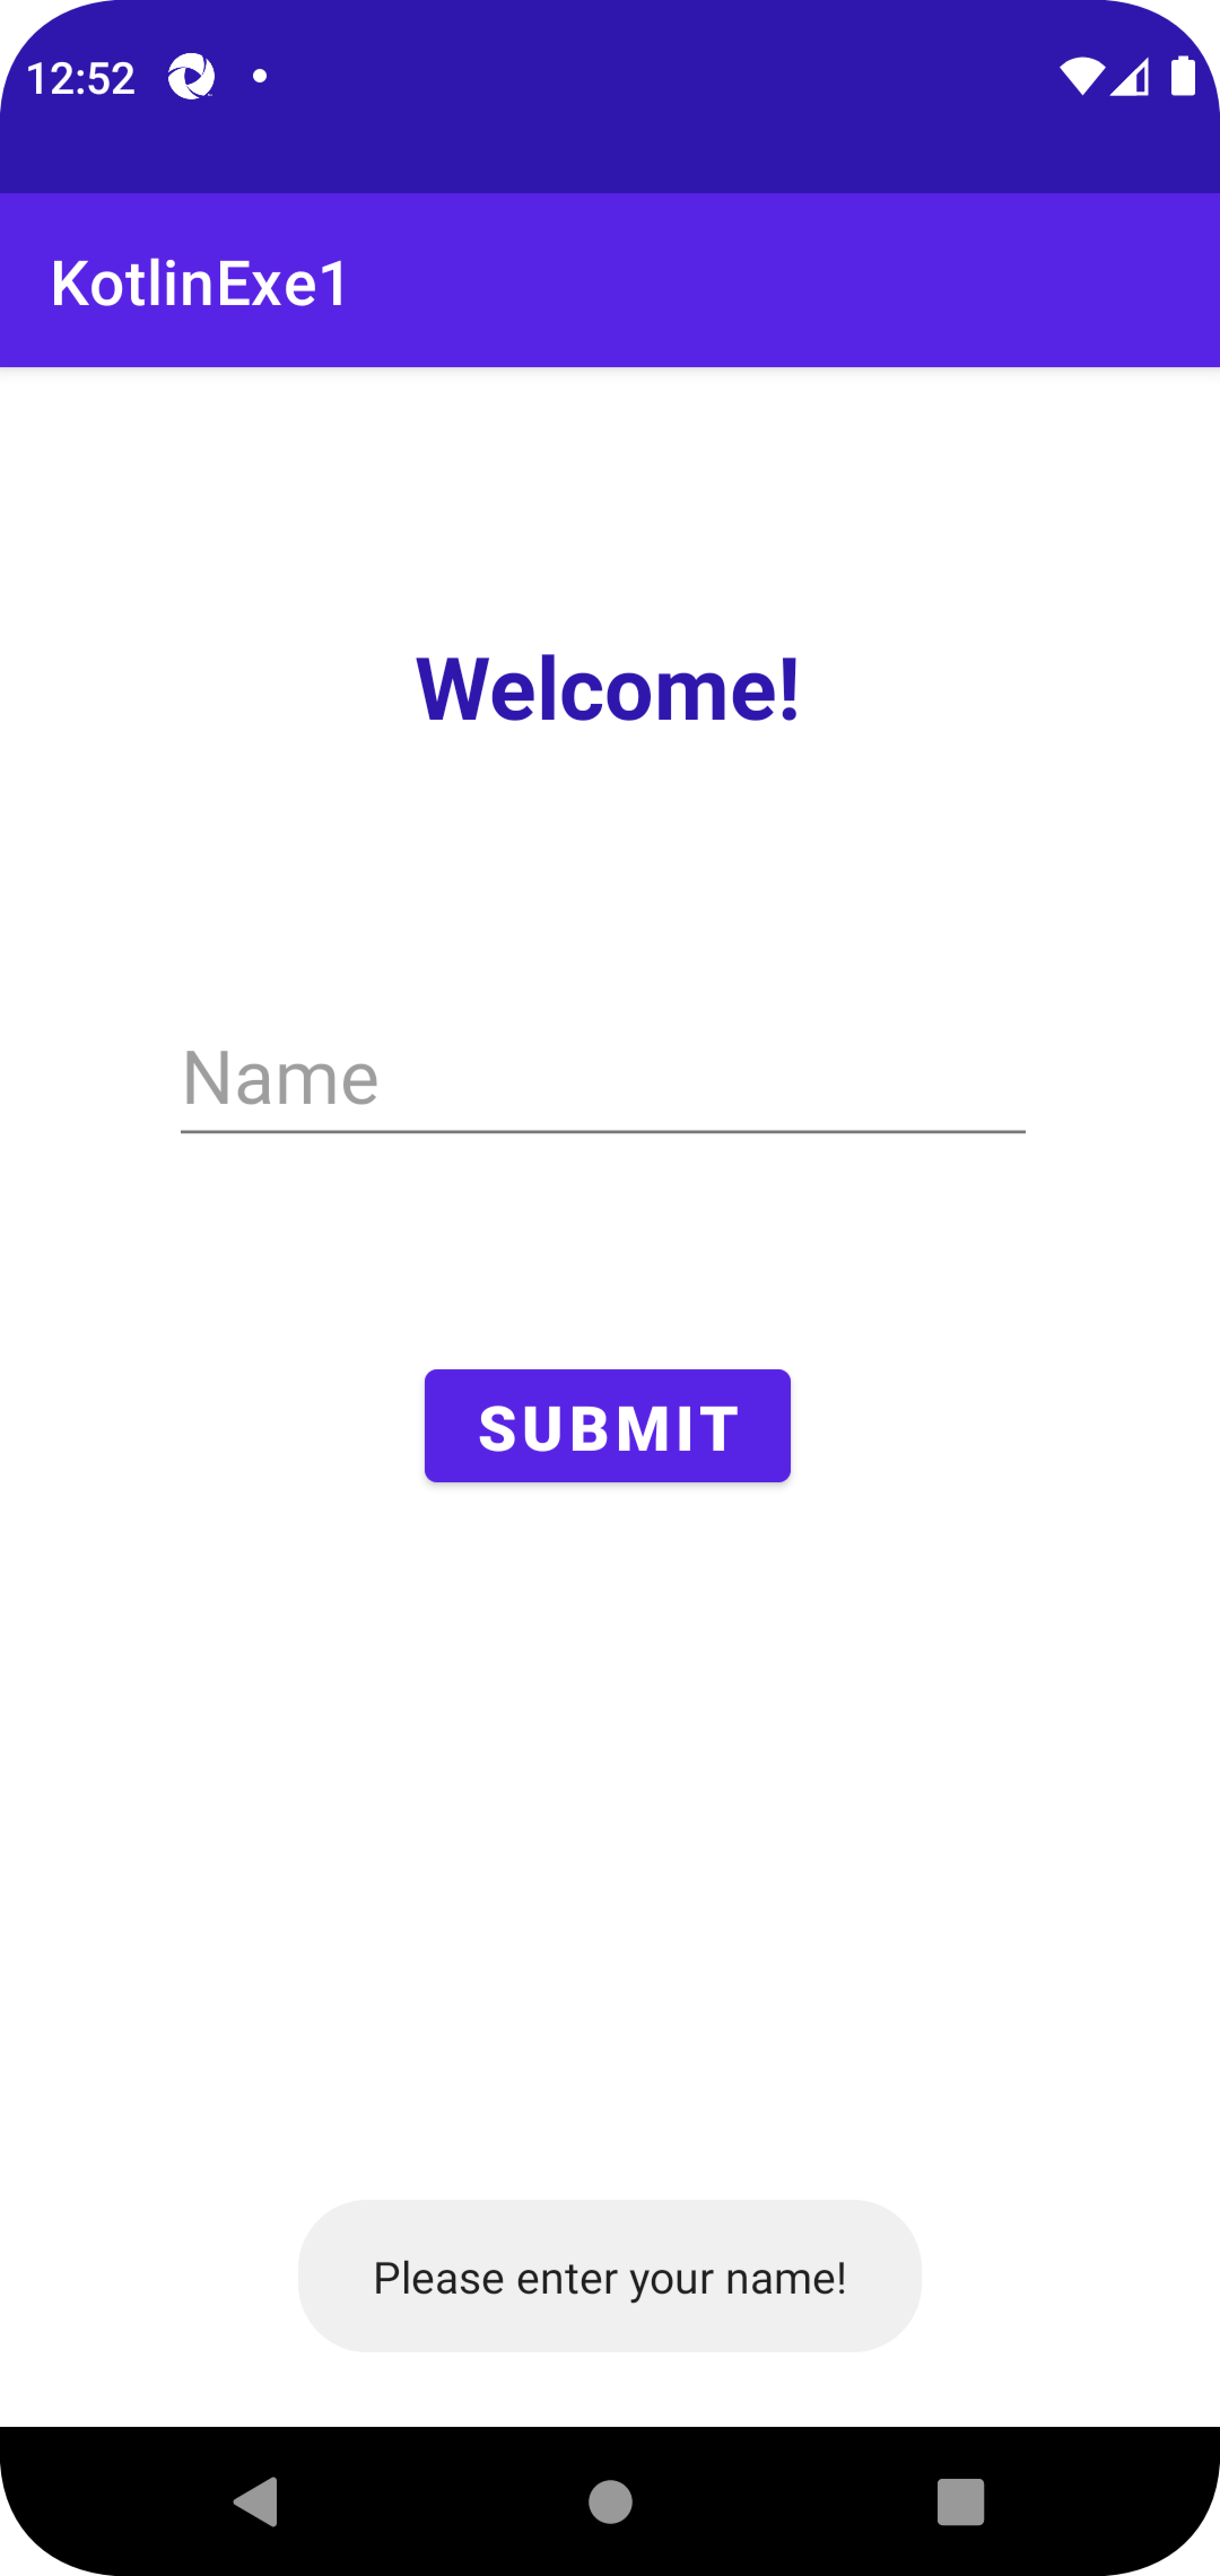
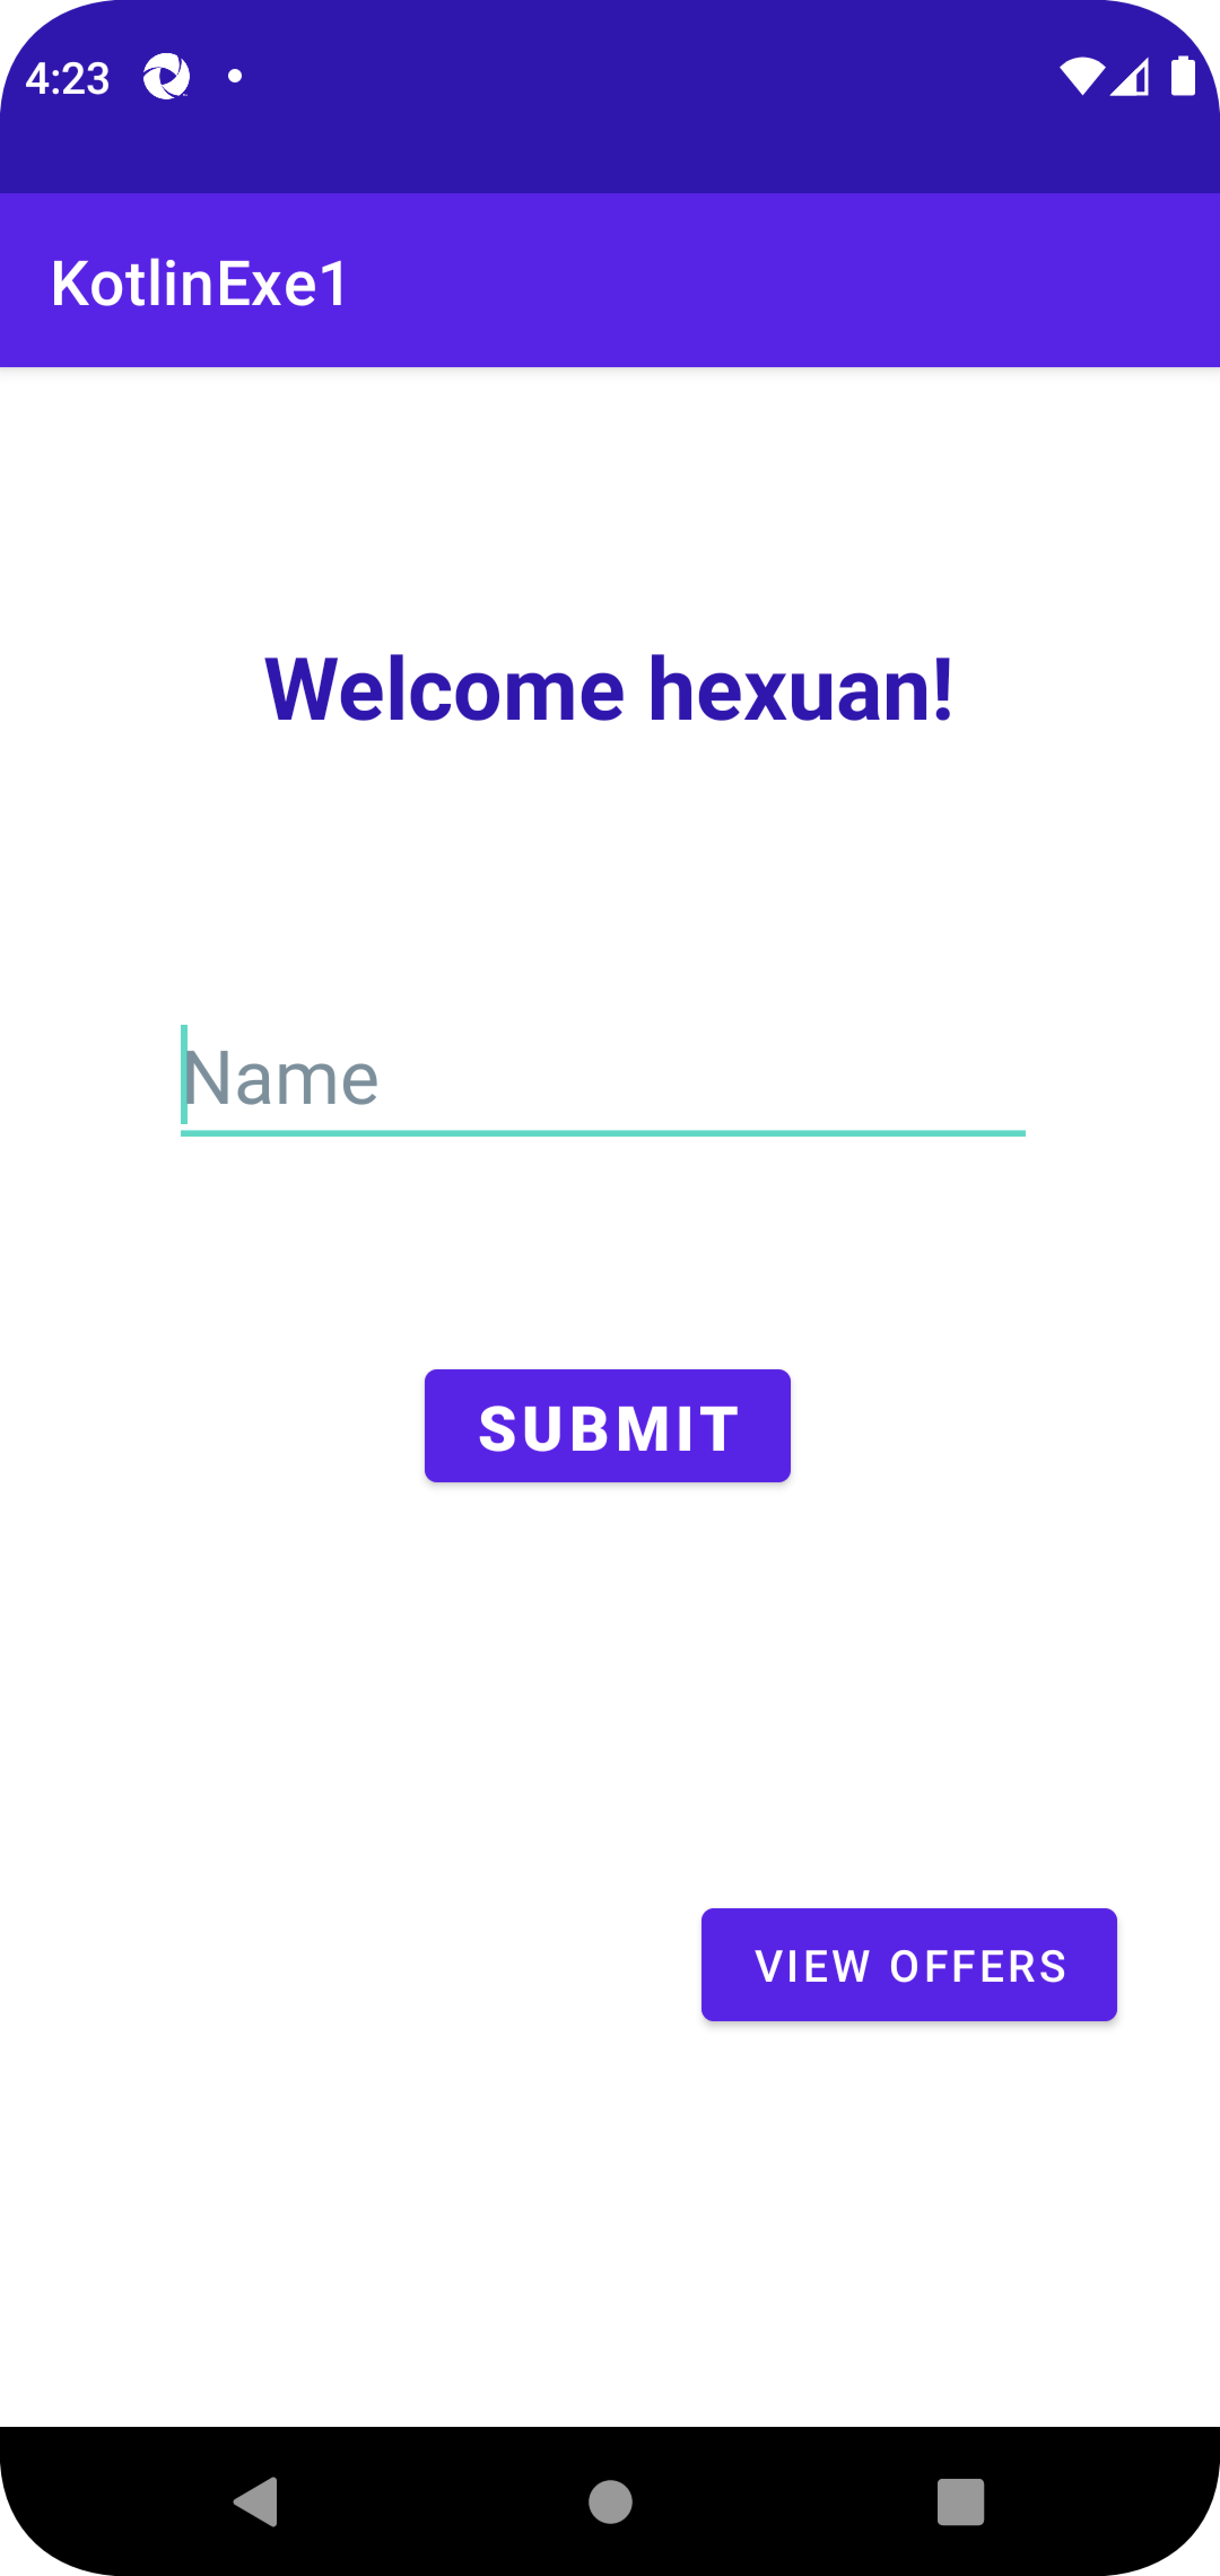
navigate to next activity
1 | offersButton.setOnClickListener(){ |
Intent
In general, intents are used to move between some android component like (activity, service, broadcast receivers …etc) some time you need to pass some value between these components so you need to use putextra in the sender component and getextra in the receiver for example :
in the sender :
1 | val intent = Intent(this, MainActivity2::class.java) |
in the reciver:
1 | val userName = intent.getStringExtra("USER") |
note that you need to pass the same key to retrieve your value
